Managing Different Java versions with SDKMAN!

Photo by Kevin Ku on Unsplash
Imagine working on one or multiple java projects on the same machine, each requiring a different Java version. Typically, you would need to manually download installers for each JDK, extract them and update the environment variables to point to the version that you want to use. That’s where SDKMAN! comes to the rescue.
SDKMAN! is a CLI tool that removes the hassle of managing multiple versions of software development kits, allowing you to effortlessly switch between them with a single command. It works on Linux, macOS, and Windows Subsystem for Linux (WSL) on Windows (but not natively on Windows). The name actually stands for Software Development Kit Manager. It’s not limited to Java, it’s designed primarily for JVM-related SDKs, across different categories ranging from languages to build tools and frameworks:
Languages:
- Java
- Kotlin
- Scala
- Groovy
build tools:
- Maven
- Gradle
- Ant
Even frameworks like:
- Spring Boot
- Micronaut
- Quarkus
You can run the following command to get the list of all available candidates (SDKs and tools) that SDKMAN! can manage:
1
sdk list
In this article, however, we’re only going to focus on using SDKMAN! to manage multiple Java versions on the same machine.
*******
Installing SDKMAN!
Let’s install SDKMAN!:
Run the following curl in the terminal:
1
  curl -s "https://get.sdkman.io" | bash
Once it’s installed, open a new terminal window and verify if the installation was successful:
1
  sdk version
You should see output containing the version:
  SDKMAN!
  script: 5.20.0
  native: 0.7.4 (linux x86_64)
*******
Installing Java
Once you have SDKMAN! up and running, you can use it to install a new Java version:
First, let’s pick the Java version. If you run the following command:
1
    sdk list java
you’ll see a structured list of Java distributions organized by vendor, such as:
- Eclipse Temurin
- Amazon Corretto
- Oracle JDK
- OpenJDK builds
- Azul Zulu
Here’s a peek at the very long list:
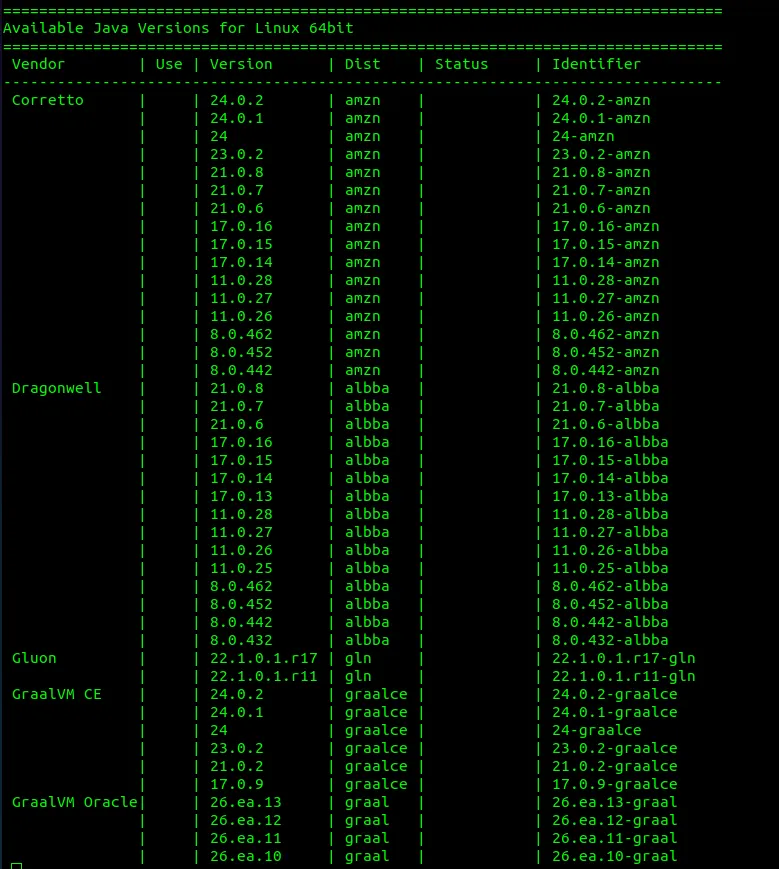
Each entry has an identifier. This is a combination of the version and vendor, which you will use to install the desired version.
</br>To install a specific version of Java, run the following command:
1
sdk install java [Identifier]
for example, to install java 17 from Eclipse, run:
1
sdk install java 17.0.10-tem
If you run sdk list java again, you’ll see the version you installed marked with
>>>in theUsecolumn, indicating it’s the active version in your system.
</br>To switch to the installed version temporarily (for the current terminal session only), simply run:
1
sdk use java 17.0.10-tem
To set this version as the default:
1
sdk default java 17.0.10-tem
*******
And that’s it. Once you have multiple versions installed, a simple sdk use or sdk default as the above will save you the time and hassle.